Thursday, December 7, 2023

Homemade Herbal Teas

One of the most rewarding discoveries that I have made recently is the ability to be able to make my own herbal teas and gear them towards my personal needs. 

I don’t have any idea how many people share similar issues as me but my main struggle is getting enough sleep on a daily basis. Getting a restful nights sleep is so important to me. Yes there are other things like boosting my immune and detoxing that are important as well but the most important thing for me currently is sleep. 

I first started researching growing my own herbs a few years ago when I began purchasing a lot of teas from my local grocery store and online. I realized how much money I was spending on them so I began paying closer attention to the listed ingredients on the box and researched whether I could grown them myself and where to purchase seeds.

The first two herbs that I tried growing was Holy Basil and Lemongrass. Not for sleep but mostly for overall health and relaxation. Both of them are annuals so I would need to replant each year, which I don’t mind, as I later found they both are very easy to start from seed indoors. 

After I had success with growing those, I started looking into growing more herbs, like Valerian root and Skullcap. I had success growing both but later decided that skullcap had too many possible side effects so I decided it’s just pretty grown as a flower and don’t currently use it in any of my teas. Ive always had a love for chamomile tea and this seemed like a very simple plant to grow. I have tried growing it for several years and the plants ever seemed to thrive long enough to collect a good amount of blossom from them until this last year. I planted several plants and two of them produced a great amount of blossoms for making tea. 

(The above photos are the holy basil on left and skullcap on the right )
For the holy basil they were easy to harvest, dry and store in glass containers with bamboo lids. I dried them upside down inside for several weeks.  I now have a new dedicated shelf for all my teas as my cabinet is too small for my growing collection now.


(The above photos are harvested lemongrass)


The Pictures below are Valarian plants. Not only are they beautiful, but the blossoms attract all kinds of beneficial insects to the garden as well. The roots harvested and dried and placed into jars.

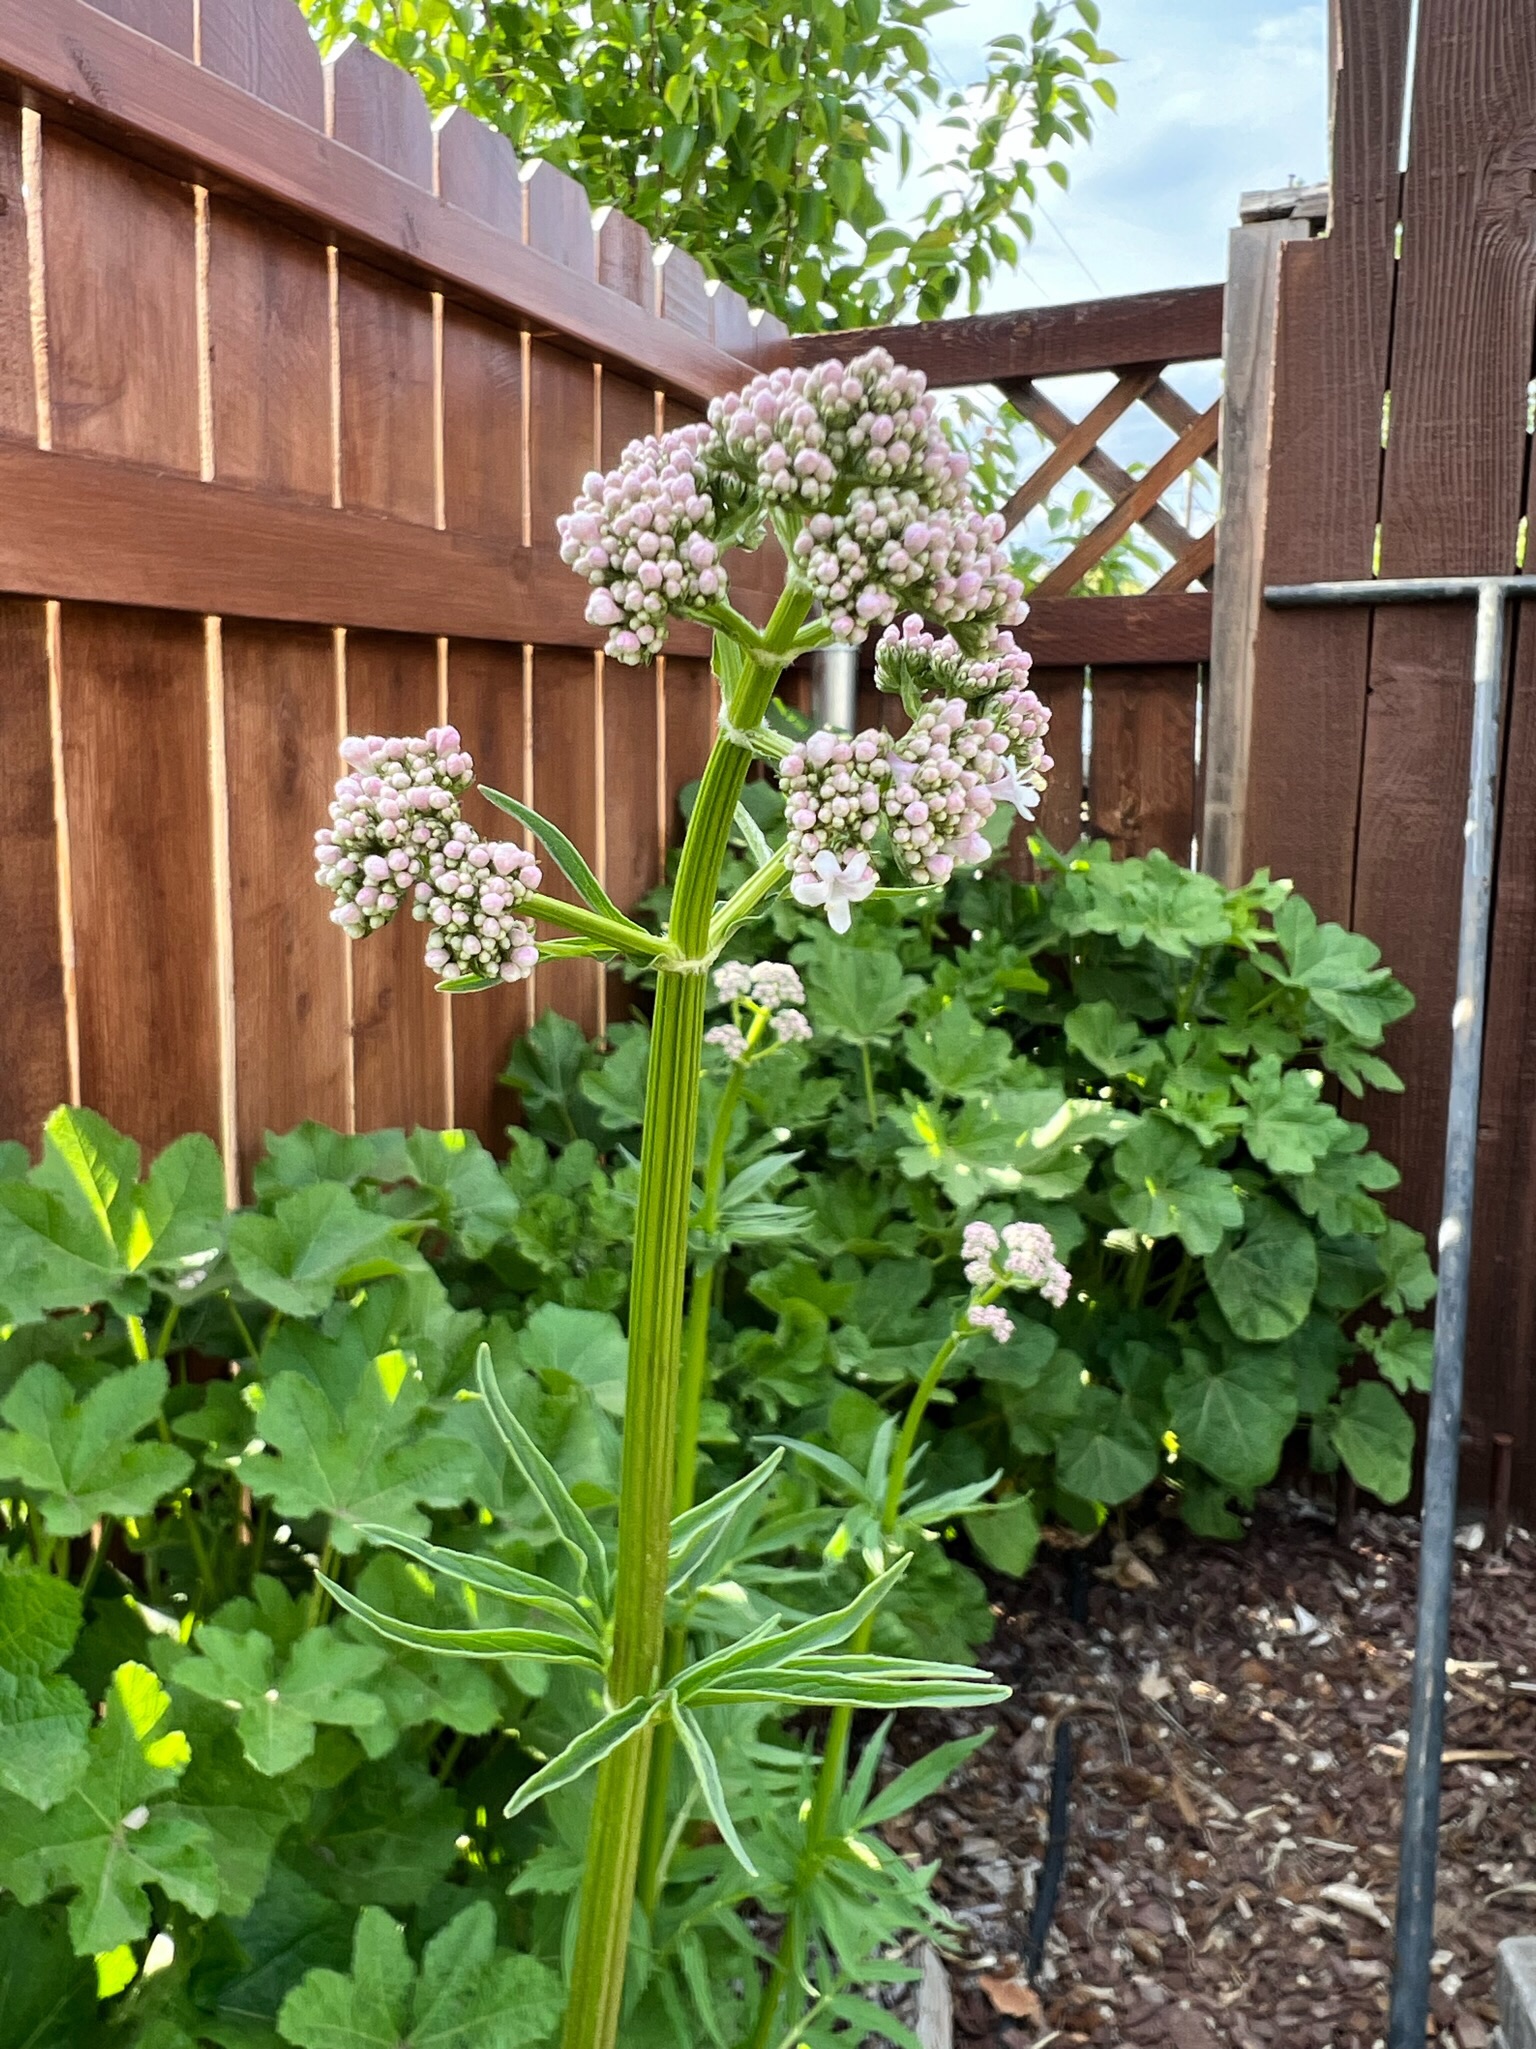
I found that harvesting Valerian root to be so different than anything that Ive ever done before. I typically have only known herbs to be used for the leaves and blossoms so this was new to me. I did also dig up some dandelion roots recently as well which was very similar but with dandelions you can also use the flowers and the leaves, and I am not familiar with the Valerian plant being used this way. Once digging up the roots I washed them and removed all the dirt before drying them and cutting up the roots for storage. This is time consuming but I really am enjoying the benefits of the tea. It really helps me to get to sleep at night and recently found that this root may also play an importance in relief of some menopausal symptoms which I find so fascinating that an herb can have such a wide range of benefits.


CHAMOMILE

Chamomile flowers are shown below. I am extremely happy with how my plants grew this year and was able to get my first real harvest for making teas. I will try and be more diligent about picking the blossoms on a daily basis as I feel that I could have harvested more if I just took the time in my busy schedule. 

Wednesday, December 6, 2023

Dahlia Storage

Back in October I mentioned briefly that I was planning on digging up my Dahlia tubers for the first time and researching on how to do it. It’s amazing at how much information I found online about storage of Dahlias and it’s been so helpful to find those resources. I did not realize how many Dahlia farmers there are out there who are passionate about gardening and willing to share their knowledge. 

I have learned a ton of gardening tips from others over the years. One thing that has changed how I garden is making more use of the space that I do have to work with. Ive learned that it doesn’t take a ton of space to grow a cutting garden and there are a lot of ways to make better use of space that you may have. For instance I have found that if you are planning on growing a cutting garden that is full of annuals, chances are, that you will be replanting them new each year so you would not need to really worry about overcrowding since it’s for the short term of the current season and typically won’t do much harm. If it were perennials, or even biennials that is an another story and you would want to plant them in a spot with room to spread. Since you will be cutting the annuals a lot you could try and grow them closer than what is recommended providing that you are still allowing for good air circulation. Once I changed this way of looking at things I feel I became better at growing things. I’m still learning all the time and I think that is something that being a gardener is all about. It’s constantly a learning process. 

In this post I will share briefly what I learned about the dividing process of my first Dahlias and what type of storage method I chose. It’s all trial and error as I don’t know how my climate will effect the storage. To make things more complicated, I live in a small 450sq ft apartment and do all of my gardening in a space separate from here. I don’t have a shed or cellar or any type of climate controlled space so my situation is very different than anyone else that I read about. I did search for dahlia farmers in my local area and read their recommendations for storage and since we live in a very dry climate, the storage method they use is using the Saran Wrap method. I read others that used vermiculite and so Im trying a little bit of both. Mine are being stored in a wooden crate under my bed and it stays about 55 degrees in this spot. So far so good. Ive been checking them every couple weeks and they still are nice and chilled and firm and no signs of any rotting. I have a lot of hope for them to survive the winter. It’s currently 41 degrees outside and we are expecting snow very soon. The temps have been in the low 30’s with some mornings down to 18. It took me a week to dig them all up. I worked on half a garden box at a time and only divided what I could handle each evening after work. I brought it all inside on a table at the garden location and washed and sanitized and allowed them to dry for 24 hrs before storing. I labeled them the best that I could. Some are in ziplocs with vermiculite and some are wrapped in plastic. It’s amazing at how much I began with and how small they ended up being after dividing them for storage. What started as a big tangled mess of roots and tubers are now condensed into tiny little packages. I am sharing a few pictures below.


Friday, December 1, 2023

Winter Clean up

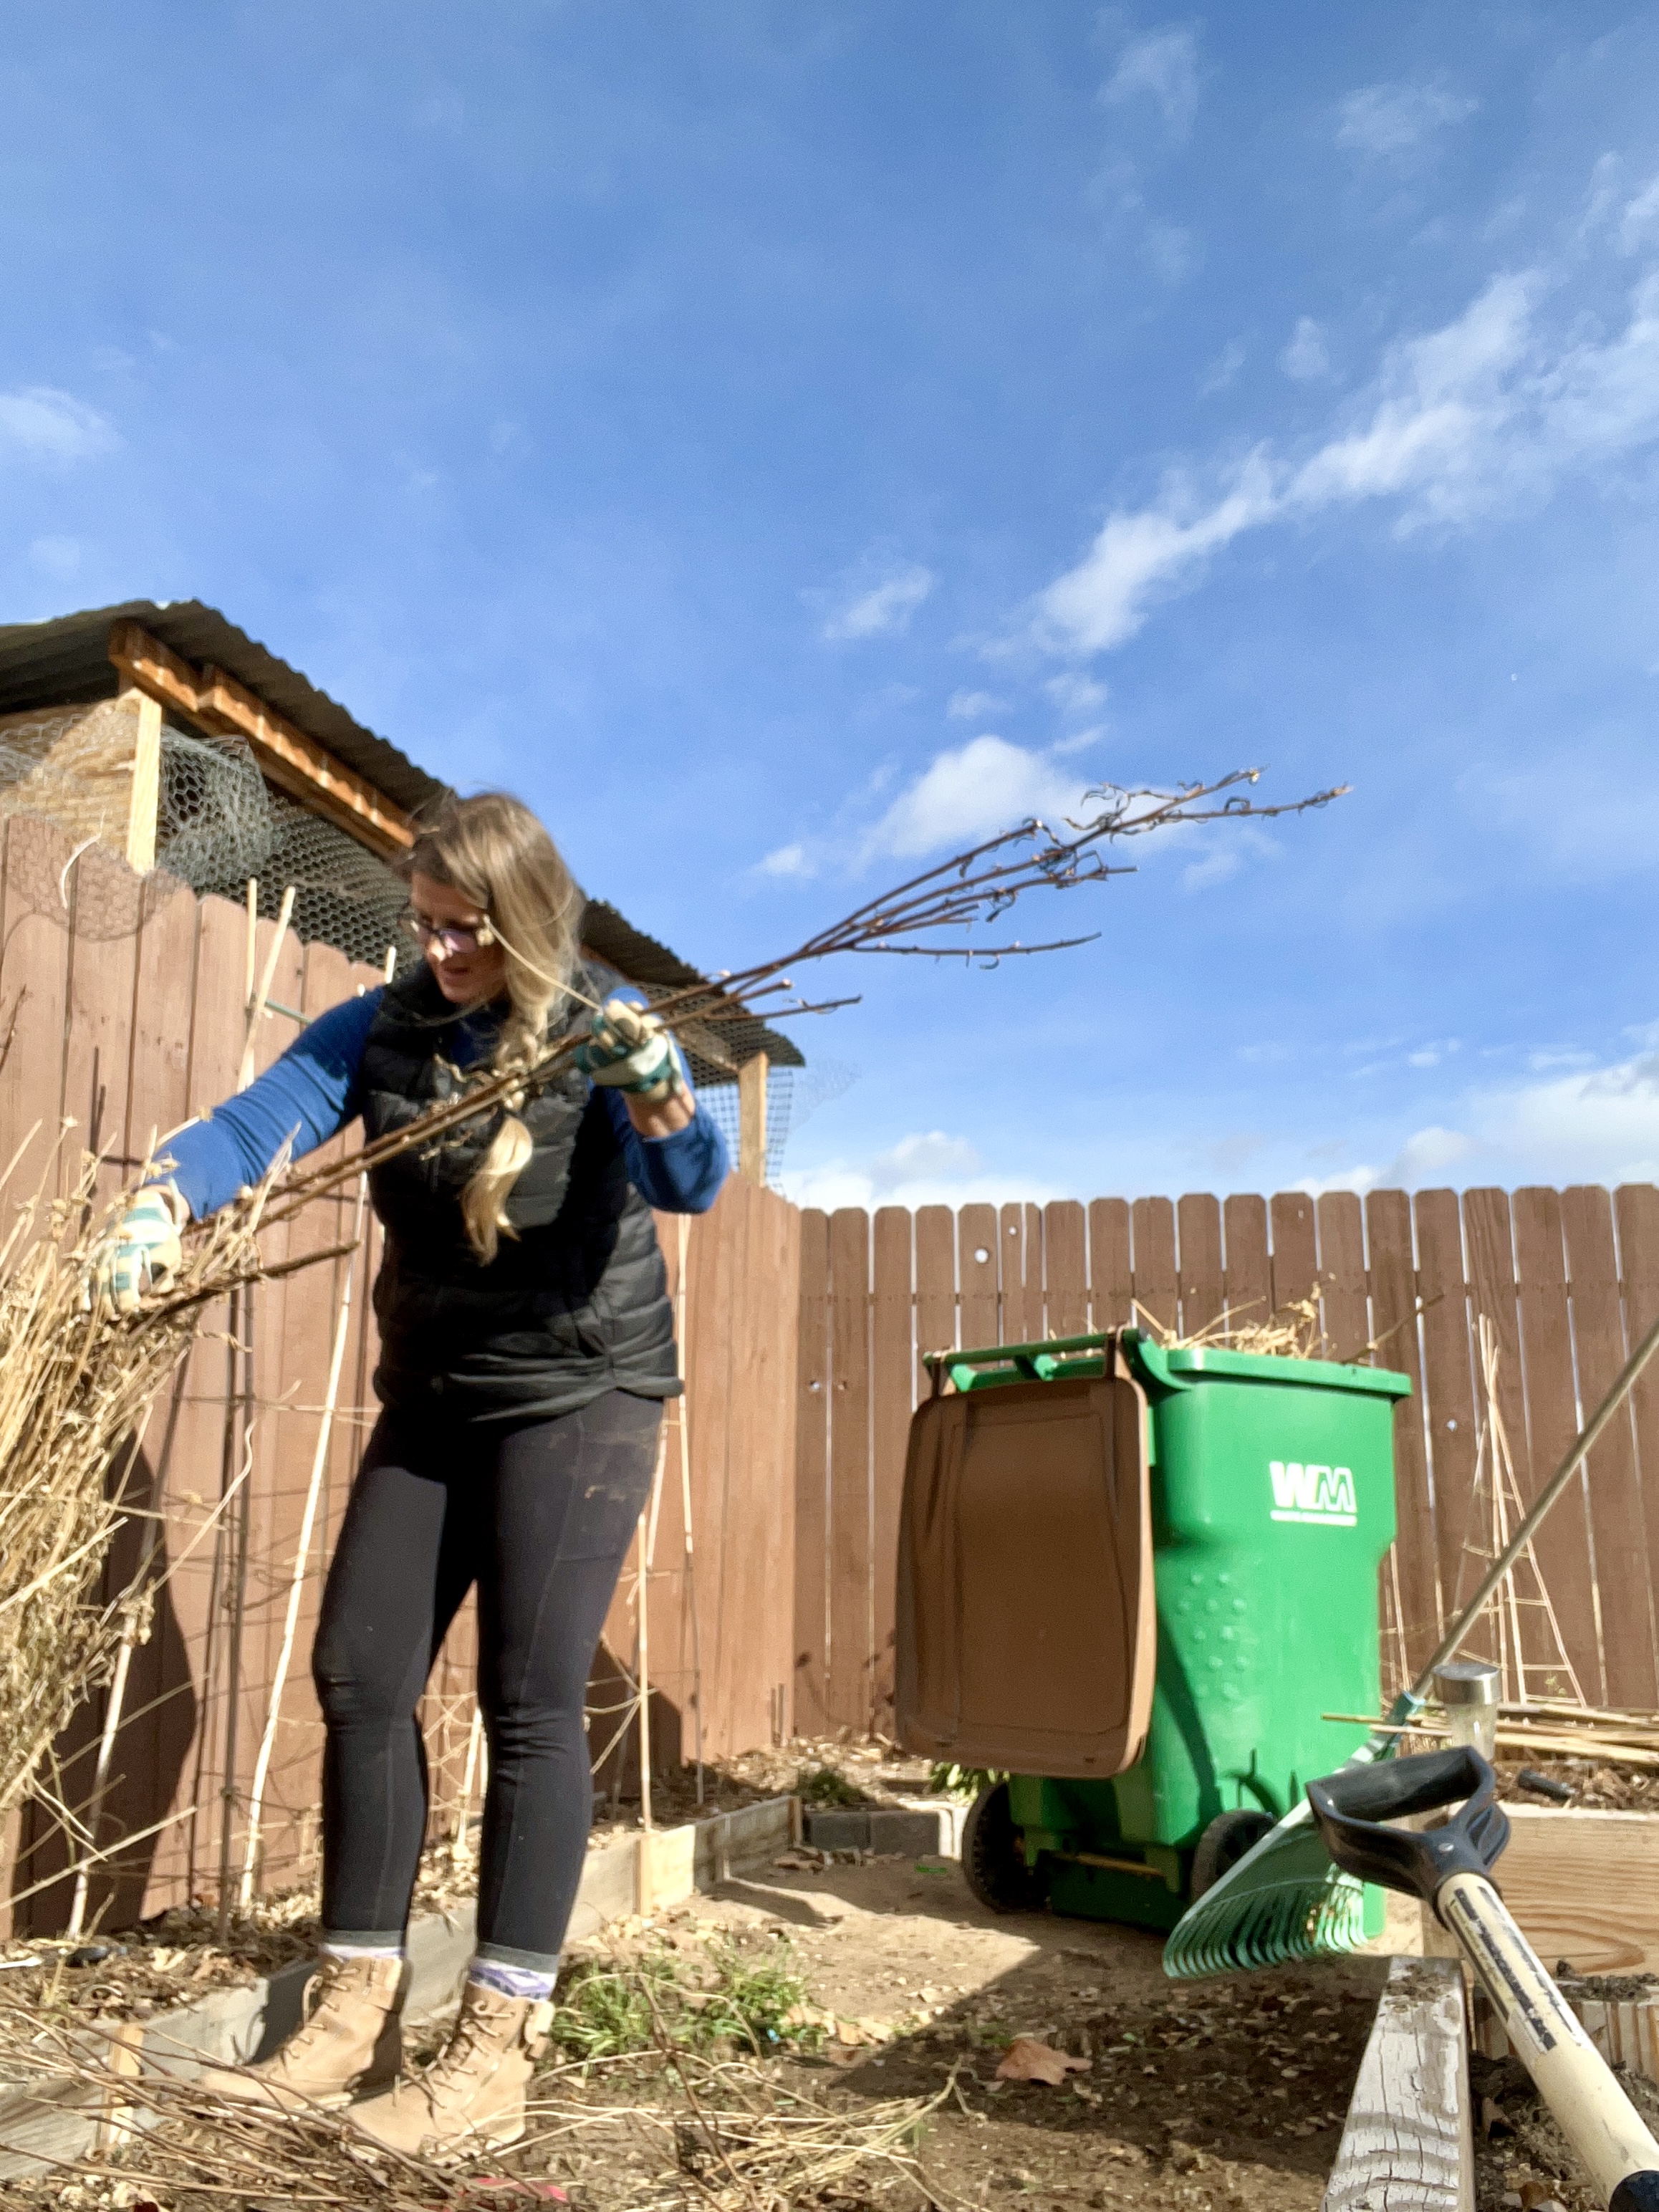
Today was much warmer out so I decided to do some yard clean up that I did not get a chance to compete this fall. I usually do not wait this long to start, but it has been so cold with temps in the 30’s for the high and it’s been hard for me to want to be out in the cold. I have also had so many other things going on during my weekends off that I haven’t had the time. During the week it is already dark by the time I get home so I am only limited to the weekends for now. I am hoping that the snow holds off for another few weeks so that I can get to the rest of the things I need to get done. 

It’s so hard to believe that the garden was beautiful and green and full of blooms just two months ago. I have not really sat down to plan for the garden next year but I do have a good idea of the plants I want to continue growing. I also have a few new seeds picked out to try. 


Star lights


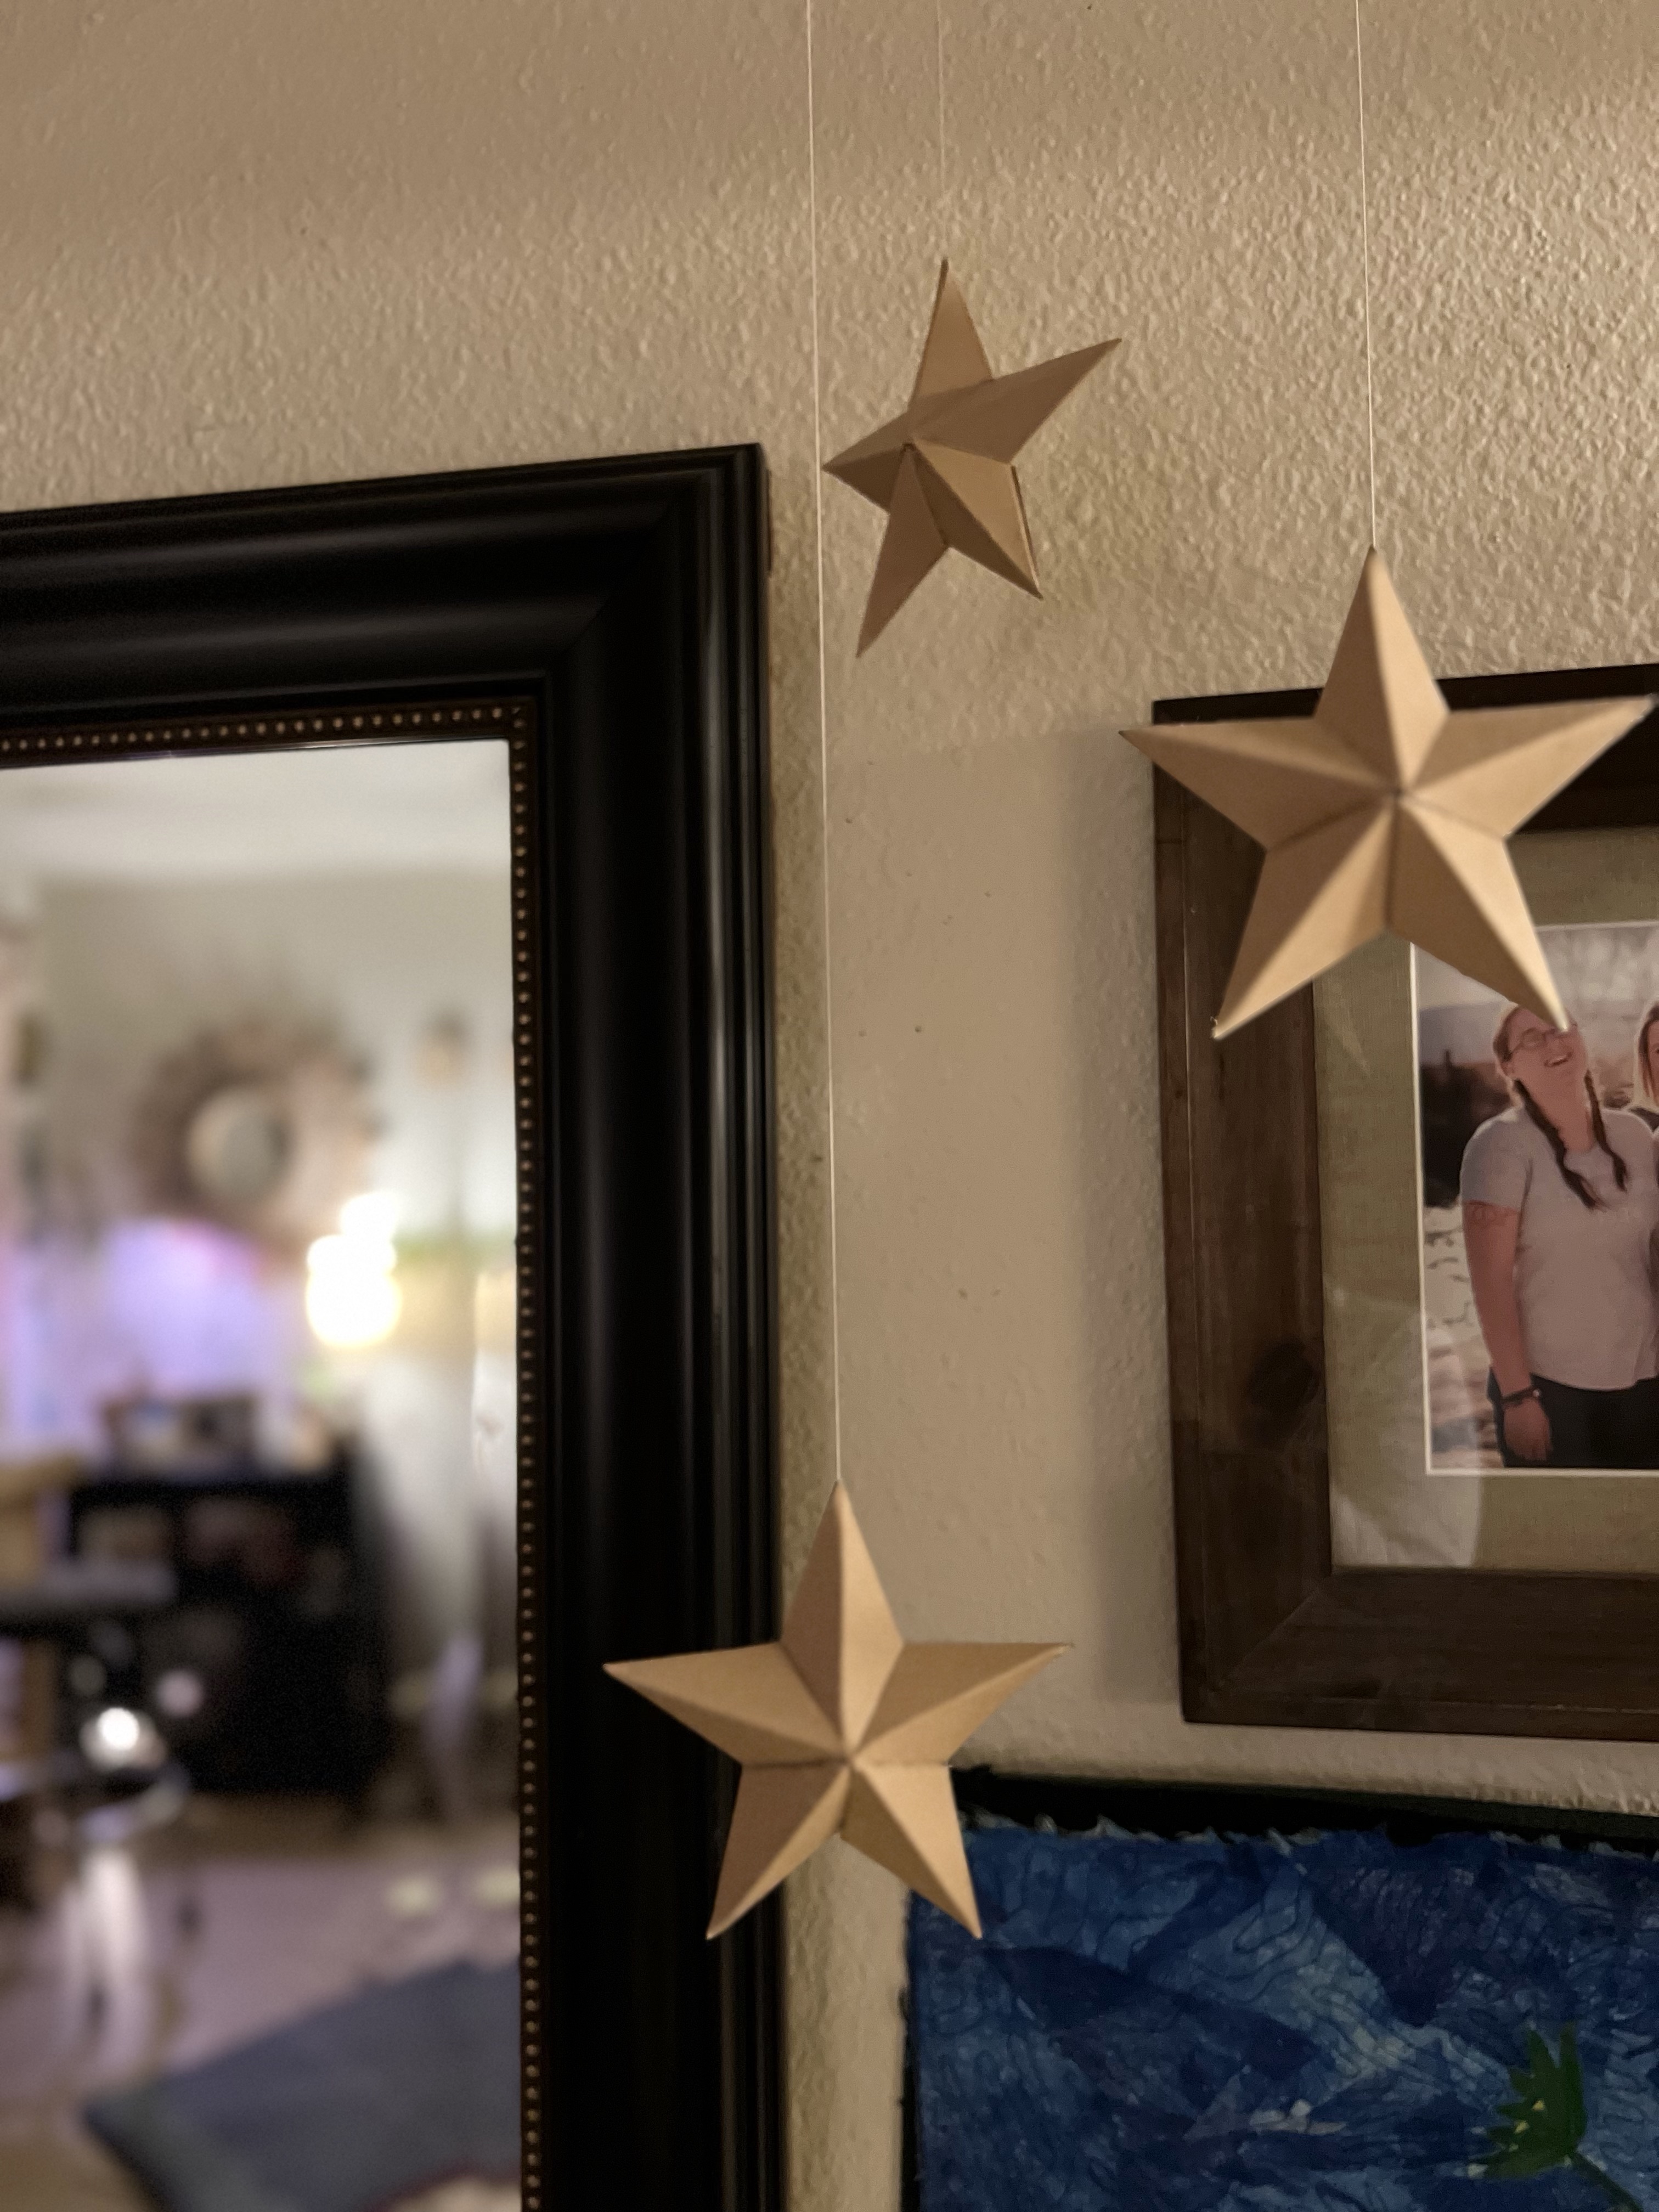
Larger stars that I made and added lights inside them. They are hanging above my sewing machine. I cut out random patterns on the alternate parts of the points to create some interest and glued some velom to the inside so that the light is diffused. The larger star just has holes punched into the paper using my leather hole punch.                                                            

Monday, November 27, 2023

Yogi Tea Box Paper Stars

Here are the some progress pictures of the paper star that I made tonight. I think it came out nice.


Saturday, November 25, 2023

Holiday Projects

During this time of the year I enjoy making handmade gifts and it really varies as to what I might make. When Im not able to work out in the garden I find other things to do, so I really stay busy. This year I am learning to macrame which I am finding is much harder than I imagined. I am going to keep at it and hope that I improve. I have also begun making some crochet hats as well and realizing that I only know the simple stitches and I would really like to learn some new stitches that involve more of a knitted look. Currently I am making hats that involve just the single crochet and half double crochet. The reason for this, is that it is very simple and I can make a hat really fast with those stitches but the downfall is that I am not pushing myself to learn the things that I would really feel most accomplished in creating. This is something I will be working on as I am more attracted to the more delicate designs.  

I decided that I will be making more paper stars this year as well. They are beautiful and very inexpensive to make. They make great gifts to hang on the outside of packages or just individually. I like to make several of them in different sizes so they can be enjoyed hanging in groups. I have several hanging from my ceiling and I just love them. I made them from a brown paper stock last year but they can be made in many colors. I have a new idea that I am trying in the next few days which I will share when they are completed. I am planning on using the insides of some paper tea boxes by Yogi tea and see how that works. I drink a lot of Yogi teas and have been collecting the boxes for a purpose. The inside designs are so unique and I’ve always thought it would be fun to make something out of them. I think some paper stars would be the perfect project to try it with. Hopefully some pictures will be posted soon :)


Saturday, November 18, 2023

Learning Macrame

This morning I planned on getting up first thing to start my new project early with coffee and then go for a walk later when it warmed up, but I had the opportunity to walk with one of my friends, so I skipped the early morning macrame and went out instead. I am so glad that I did, it was great! Here is a scene from the walk. The fall colors are just amazing and hearing the water in this steam was a treat. We made it back before the rain started. 

When I returned I began working on my new macrame project, I am working on learning this new skill. I found a beautiful book and treated myself to it and I am planning on making some gifts for my family. When I was a young girl my mother made a kitchen curtain out of macrame and today I look at that in amazement because it was so much work. She really put her heart into it and it was a gift for our family kitchen. So, with that thought in mind, I hope that I do good. I ordered my threads and started preparing them cutting the strips first and today I have been learning
 a few knots. I intend to made a wall plant hanger because it looks like the simplest one to start with. Here are some pictures of my progress. 
It is definitely not as easy as I thought it would be but I think I am getting the hang of it. 

Seed sorting and Planning the Garden

Me and Luna hung out today and sorted through some seeds that I will be planting this spring. She is always happy with whatever we are doing...